

みやちゃ
皆さんこんにちは、みやちゃです!
物理とプログラミングについて解説しています!
ポートフォリオとしてRailsでアプリを開発したけど、公開の仕方がわからない。
herokuとやらにデプロイ?するらしいけど、エラーだらけでわからない。
このような方のために、今回はherokuに開発したアプリをデプロイする方法を解説します!
- Herokuへアカウント登録
- Heroku CLIインストール
- Herokuへのデプロイ
- デプロイの際に出た3つのエラーの紹介と解決方法
Herokuへのデプロイができます。また、その際に出てくるかもしれないエラーも3つ紹介しています。
以下のような流れで進めていきます!
- Herokuへの登録
- Herokuへのデプロイ
- エラーの紹介
Herokuの登録
まずはこちらからHerokuにユーザー登録をし、アカウントを作成します。
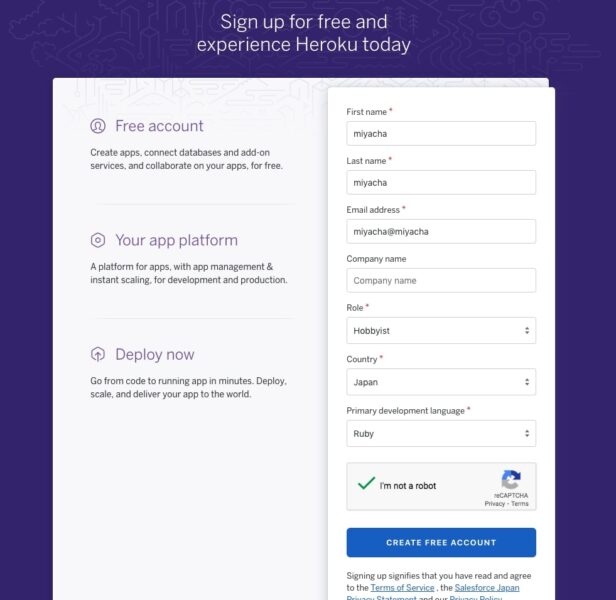
「Role」のところは「Hobbyist」を選択します。
全ての必須項目を埋めたら、「CREATE FREE ACCOUNT」ボタンを押します。
すると、登録したメールアドレスにパスワード設定のメールが届くので、パスワード設定をすれば、アカウントの作成は完了です。
Heroku CLIをインストール
Heroku CLIをこちらからインストールします。
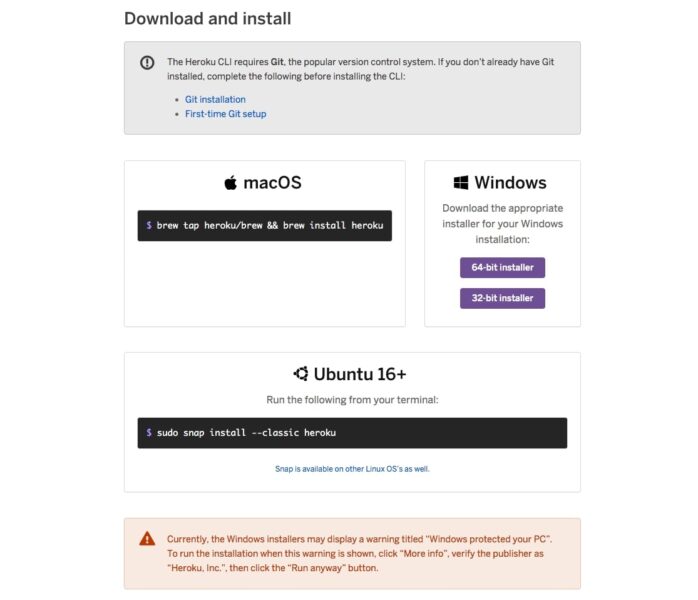
Heroku CLIは、Herokuアプリケーションの作成及び管理をするためのツールとして必要になります。
無事インストールできたらコマンドラインでログインしてみましょう!
ターミナルを開き、「heroku login」と入力します。
miyacha$ heroku login
heroku: Press any key to open up the browser to login or q to exit:
すると、「heroku: Press any key to open up the browser to login or q to exit: 」と言われるので、Enterキーを押します。
すると、herokuのログインページが開かれます。
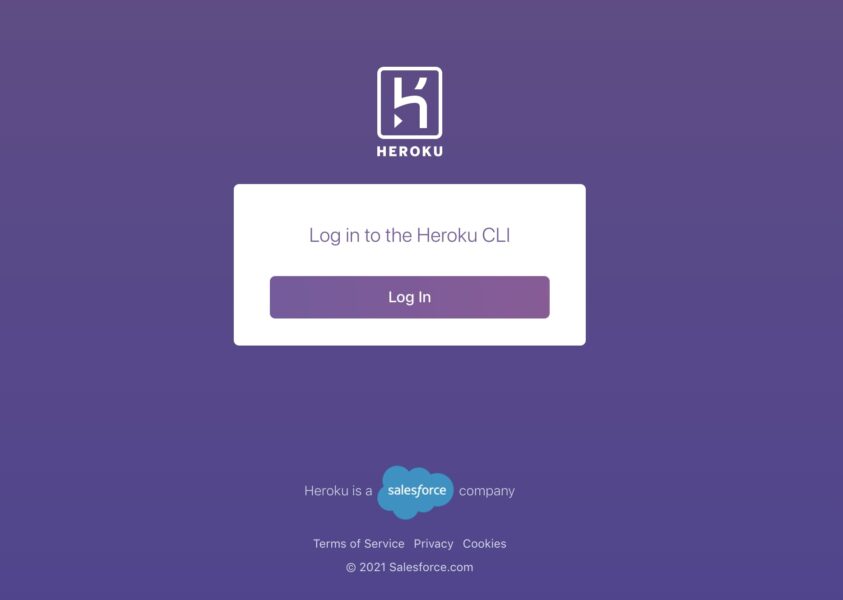
「Log in」ボタンを押して、ログインを完了させます。
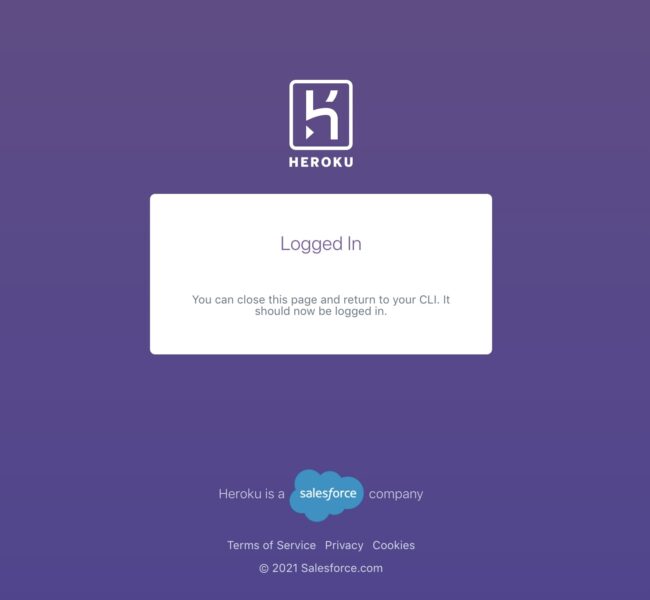
上のように、「Logged In」とブラウザに表示されれば、ログイン完了です。
Gemfileの書き換え
gem 'sqlite3', '~> 1.4'Gemfileのこの1行を以下のように変更してください。
group :development do
  gem 'sqlite3', '~> 1.4'
end
group :production do
  gem 'pg'
end
次に、ターミナル上で、以下のコマンドを実行します。
miyacha$ bundle install --without productionmiyacha$ git add .
miyacha$ git commit -m "Added pg gem and updated Gemfile.lock"ここまで来れば、準備が整いました。
アプリをデプロイ
ここで、Herokuに公開するアプリの名前を考えます。
ここでの名前はあなたのだけのアプリとなります。
もう決まりましたか?
それでは、コマンドを実行します。
ここでは例としてアプリの名前を「miyacha-app」とします。
miyacha$ heroku create miyacha-appCreating ⬢ miyacha_app... !
▸ Name must start with a letter, end with a letter or digit and can only
▸ contain lowercase letters, digits, and dashes.
上のようなエラーが出た時は、名前に問題があります。
「miyacha_app」に関しては、 アンダーバー「_」を使うことができません。
別の名前にして、もう一度「heroku create」してください。
Creating ⬢ hoge-app... !
 ▸    Name hoge-app is already taken
上のようなエラーが出た時は、すでに名前が使われています。
もう一度アプリの名前を考え直してください。
Herokuにコードを送信(push)
heroku createがうまくできたら、Herokuにコードを送信しましょう。
ターミナルで以下のコマンドを実行してください。
miyacha$ git push heroku master次のような結果が出ていれば成功です。
remote: -----> Compressing...
remote:        Done: 91.1M
remote: -----> Launching...
remote:        Released v7
remote:        https://talk-ibs.herokuapp.com/ deployed to Heroku
remote:
remote: Verifying deploy... done.
To https://git.heroku.com/talk-ibs.git
 * [new branch]      master -> master
この結果が出てこなかった人は、何かしらの問題により、コードがpushできていません。
私もいくつかのエラーが出たので、下で紹介しています。
まずは、できた前提で次に進みます。
データベースのマイグレート
次にデータベースのマイグレートをします。
ターミナルで次のコマンドを実行してください。
miyacha$ heroku run rails db:migrateこのコマンドが実行できたら、インターネットブラウザから自分のサイトを見ることができます。
次のコマンドで確認してみましょう。
miyacha$ heroku openブラウザであなたのアプリの画面が開かれたでしょうか?
これでherokuへのデプロイができました。
git push heroku masterで起こった数多のエラー
ここからは、「git push heroku master」を実行した際に出てきたエラーを紹介していきます。
エラー1:Rubyのバージョンの不一致
以下のようなエラーが出てきました。
remote:  !
remote:  !     The Ruby version you are trying to install does not exist on this stack.
remote:  !
remote:  !     You are trying to install ruby-2.6.3 on heroku-20.
remote:  !
remote:  !     Ruby ruby-2.6.3 is present on the following stacks:
remote:  !
remote:  !     - cedar-14
remote:  !     - heroku-16
remote:  !     - heroku-18
remote:  !
remote:  !     Heroku recommends you use the latest supported Ruby version listed here:
remote:  !     https://devcenter.heroku.com/articles/ruby-support#supported-runtimes
remote:  !
remote:  !     For more information on syntax for declaring a Ruby version see:
remote:  !     https://devcenter.heroku.com/articles/ruby-versions

...


error: failed to push some refs to 'https://git.heroku.com/talk-ibs.git'
要は「heroku-20ではruby-2.6.3は扱えないよ」っ的なことみたいです。
heroku-18なら大丈夫とあるので、heroku-20からheroku-18に変更してあげます。
miyacha$ heroku stack:set heroku-18rubyのバージョンの問題がなくなったので、再び、「git push heroku master」を実行してあげます。
miyacha$ git push heroku masterエラー2:Failed to install gems via Bundler.
また新たなエラーが出ました。
remote:  !
remote:  !     Failed to install gems via Bundler.
remote:  !
...


...

error: failed to push some refs to 'https://git.heroku.com/talk-ibs.git'
gem関連で何か問題が生じているようです。
でもこれだけでは何が問題なのかわからないので、ログを確認します。
miyacha$ heroku logs上記のコマンドを実行すると、ログが表示されます。
Build failed -- check your build output: https://dashboard.heroku.com/〜〜〜その中に「Build failed」とあるので、これが先ほどの失敗した実行のことですね。
URLが添付されています。herokuのダッシュボードに行けるので、そこで詳しいエラー文を確認しましょう。
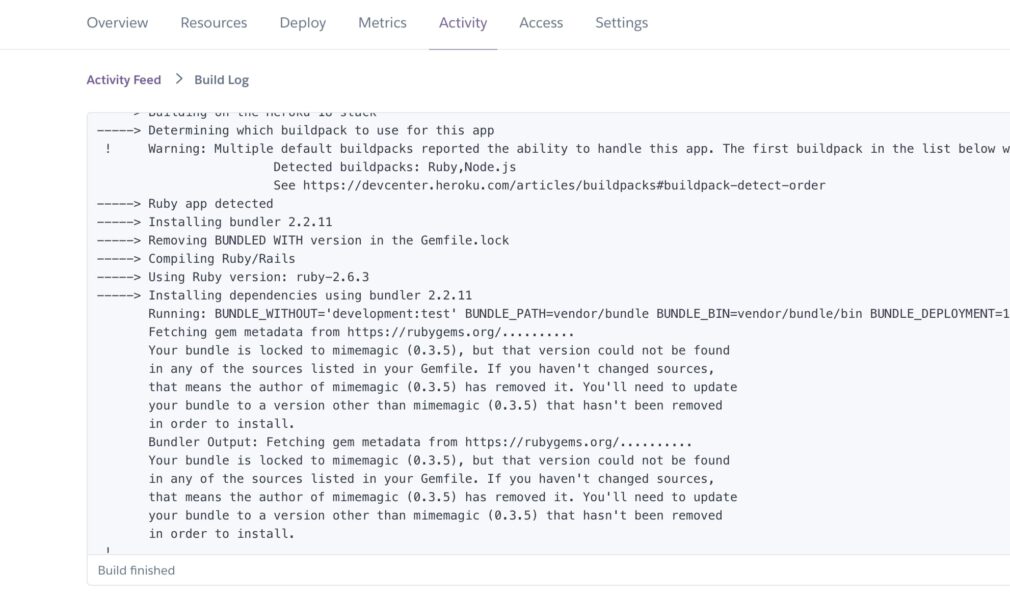
よく見ると
Running: BUNDLE_WITHOUT='development:test' BUNDLE_PATH=vendor/bundle BUNDLE_BIN=vendor/bundle/bin BUNDLE_DEPLOYMENT=1 bundle install -j4
Fetching gem metadata from https://rubygems.org/..........
Your bundle is locked to mimemagic (0.3.5), but that version could not be found
in any of the sources listed in your Gemfile. If you haven't changed sources,
that means the author of mimemagic (0.3.5) has removed it. You'll need to update
your bundle to a version other than mimemagic (0.3.5) that hasn't been removed
in order to install.
Bundler Output: Fetching gem metadata from https://rubygems.org/..........
Your bundle is locked to mimemagic (0.3.5), but that version could not be found
in any of the sources listed in your Gemfile. If you haven't changed sources,
that means the author of mimemagic (0.3.5) has removed it. You'll need to update
your bundle to a version other than mimemagic (0.3.5) that hasn't been removed
in order to install.
エラー文を読むと、どうやらRailsが依存しているmimemagic(0.3.5)が「that version could not be found」となっているみたいです。
bundle updateでmimemagicをアップデートしてあげます。
以下によると、nokogiriとmarcelもアップデートしてあげたほうがいいかもしれません。
https://github.com/rails/rails/issues/41757#issuecomment-806938727
参考資料
以下のコマンドを実行します。
miyacha$ bundle update nokogiri marcel mimemagicこれで解決するはずです。
エラー3:それでも出続ける同じエラー
rubyのバージョンは整えたし、よくわからないgemもアップグレードして皆はここで解決しているのに、なぜか自分だけ治らない。。
私の場合はこのエラーが何度も出続けました。
原因は、ブランチを切って作業していたことです。
マスターにマージしてあげれば、うまくいきます。
miyacha$ git add .
miyacha$ git commit -m "update nokogiri marcel mimemagic"
miyacha$ git checkout master
miyacha$ git merge [ブランチ名]


miyacha$ git push heroku master
今回の「git push heroku master」でやっと成功すると思います。
変更を反映する時
先ほどでHerokuへのデプロイが完了しましたが、変更を加えて、それを再デプロイしたいときは、以下のコマンドを実行しましょう。
miyacha$ git add .
miyacha$ git commit -m "message"
miyacha$ git push heroku master
うまく変更が反映したかどうかを以下のコマンドで確認しましょう。
miyacha$ heroku openまとめ
いかがでしたでしょうか?
今回は、Railsで開発したポートフォリオをHerokuへのデプロイについて解説しました。
個人的にはかなりエラーが出たので難しく感じたのですが、皆様はいかがでしたでしょうか?

みやちゃ
ここまでご覧いただきありがとうございます!