
みやちゃ
今回はPythonの第二弾です!
Pythonの開発に用いると便利なIDLEの使い方をご紹介します。
- IDLEの使い方
IDLEの基本的な使い方を理解する事ができます!
Python
Python 3のインストール方法はこちら(Pythonのインストール方法)で解説しているので、是非ご覧ください。
IDLEとは?
IDLEとは、Pythonの統合開発環境です。
IDLEには、ShellウィンドウとEditorウィンドウの二種類のウィンドウがあります。
Shellウィンドウでは、コマンドを実行し、Editorウィンドウでは、ファイルを編集します。
IDLEの起動
「command + スペース」で「spotlight」を起動します。
ここに「python 3.9」と入力します。

「python 3.9」というフォルダがあるので、クリックします。
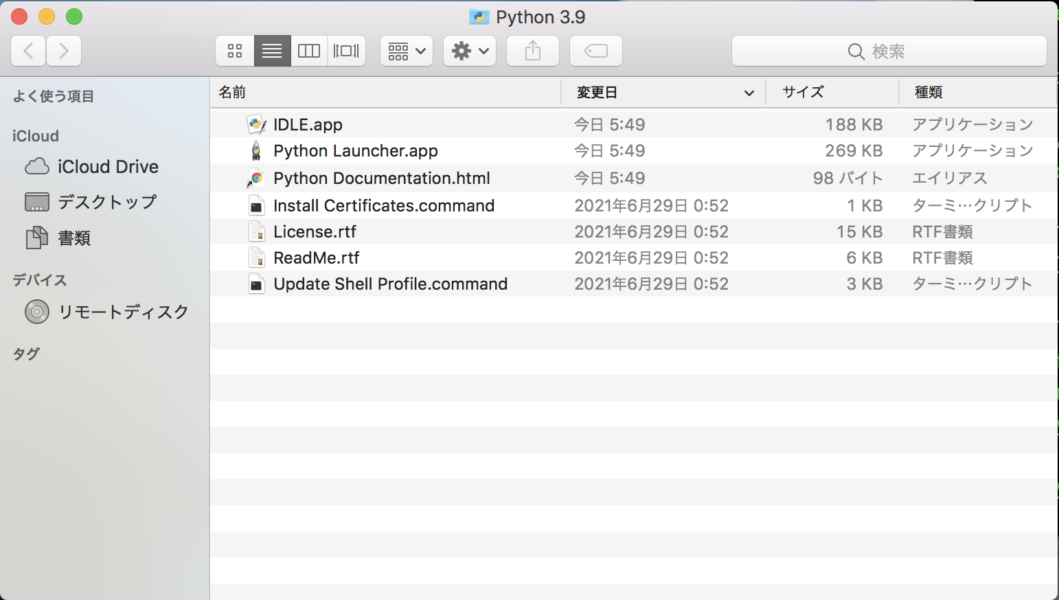
フォルダの中に、「IDLE.app」があるので、それをクリックすると、IDLEが起動されます。
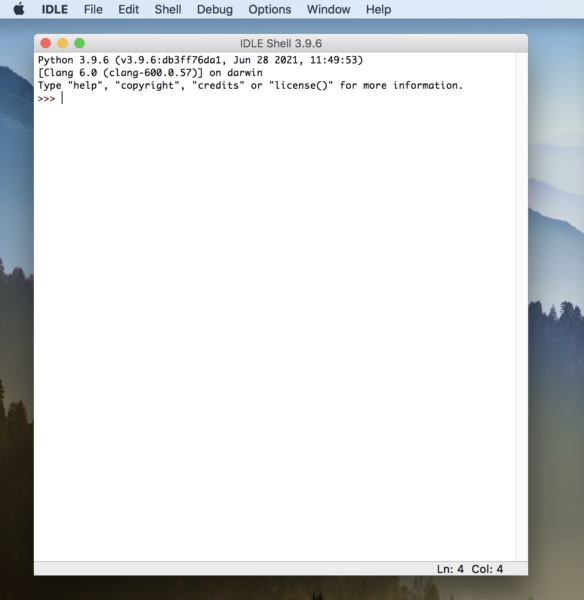
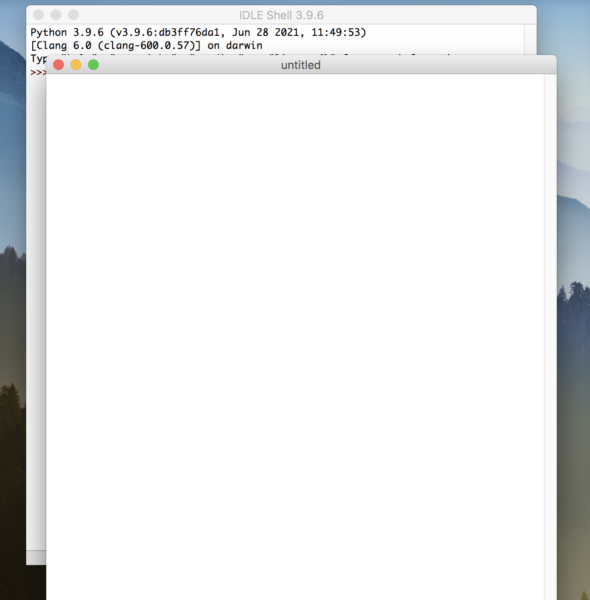
IDLEを起動すると、Shellウィンドウが表示されます。
Editorウィンドウ
次に、Editorウィンドウを表示しましょう。
[File]から[New File]をクリックします。
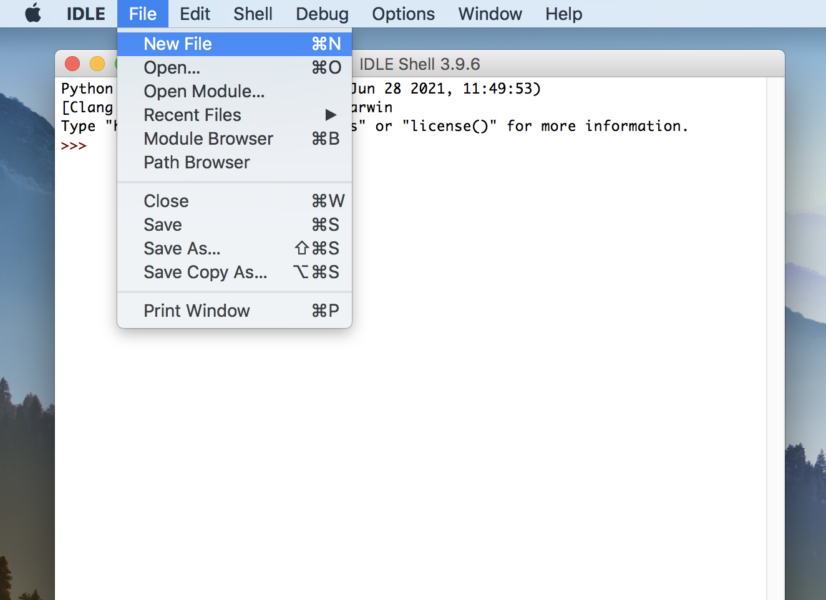
すると、新しいファイルが表示されるはずです。
ファイルに以下のコードを入力してください。
print("miyacha")ファイルを保存します。
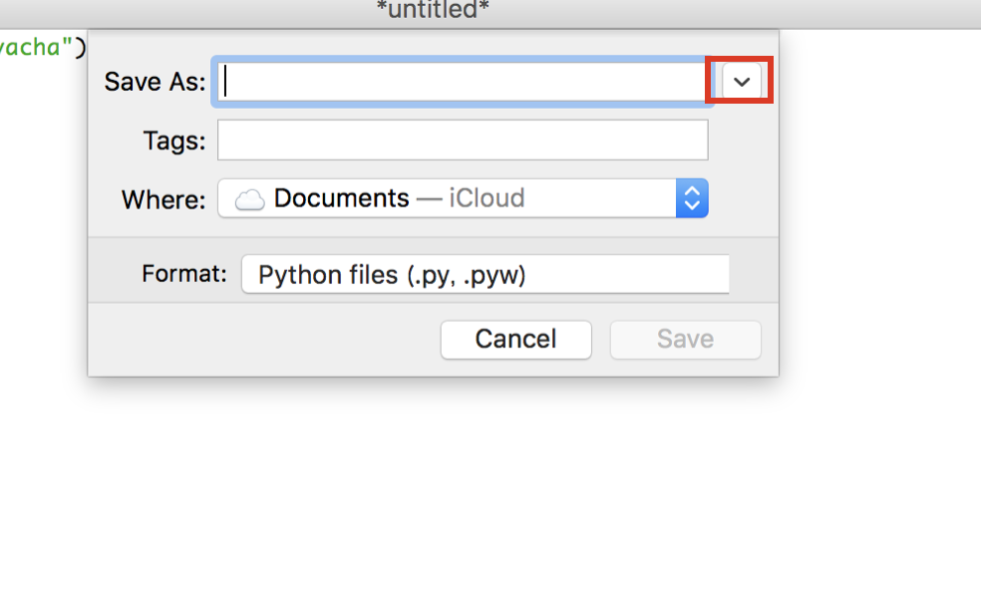
「command + s」を押して保存します。
すると、以下のような画面が出てくるので、保存の詳細ボタンを押します。
すると、詳細画面が開くので、「Desktop」に移動し、「New Folder」で、新しく「python sample」というフォルダを作成します。
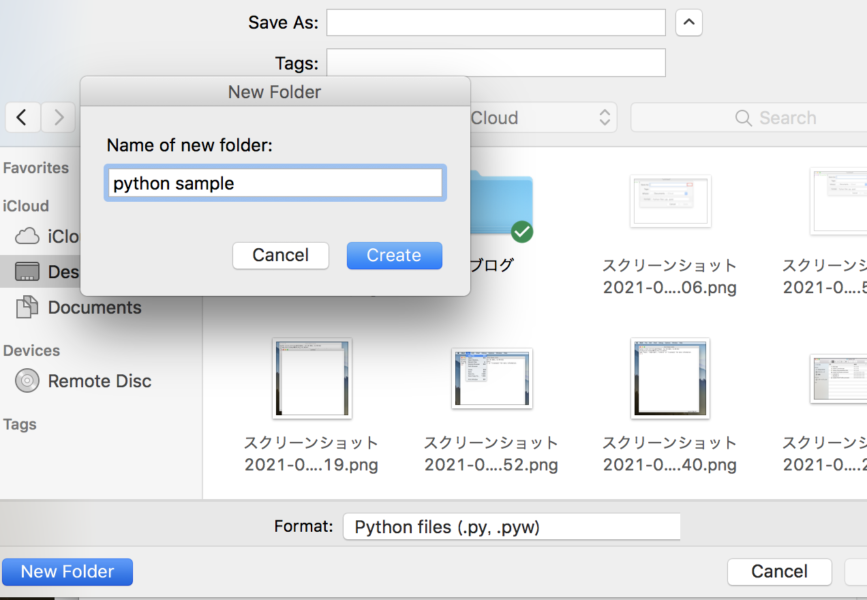
「python sample」フォルダの中に、「hello.py」というファイル名で保存しましょう。
ファイルの実行
それではファイルを実行してみましょう。
Editorウィンドウを開いた状態で、左上の「Run」メニューをクリックし、「Run Module」をクリックすると、プログラムが実行されます。
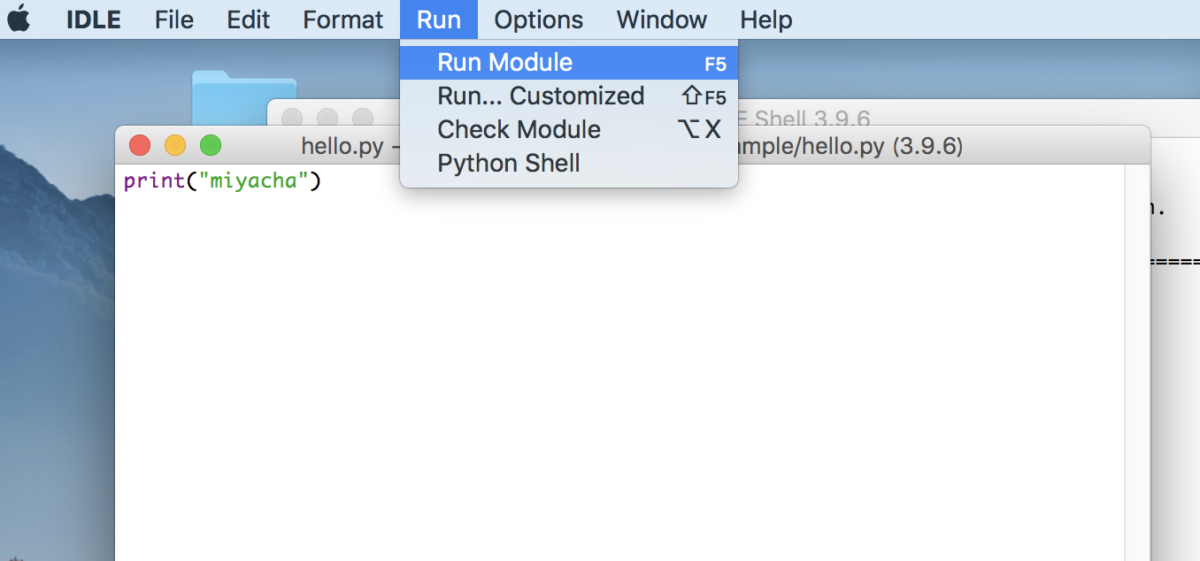
プログラムを実行すると、Shellウィンドウで結果が出力されます。
このプログラムでは、「miyacha」と出力されているはずです。
まとめ
いかがでしたでしょうか?
今回は、Pythonの開発で役立つIDLEの使い方をご紹介しました!
みやちゃ
ここまでご覧いただきありがとうございます!
こちら のUdemyの動画教材は、8時間で、
- Dockerで仮想環境構築
- Railsの基礎を解説しながら、アプリケーション開発
- RSpecでテストを記述
まで解説しています。
Udemyの教材へRailsエンジニアとして働くために必要な、DockerとRSpecを同時に解説してくれています。
DockerとRSpecを使って作ったポートフォリオはかなり評価が高くなります。
ぜひ動画を見てみてはいかがでしょうか?
Udemyの教材へ受講生は、5000人以上!です。
さらに、Udemyは、30日間の返金保証付きなので、いつでも返金できます。